import Tabs from '@theme/Tabs'; import TabItem from '@theme/TabItem';
Prerequisites
Install the remote server using packages.
Step 1: Configure a new Remote Server
As of Sipmon version 18.10, a new wizard has been added for defining a new Remote Server on the Sipmon platform.
Go to the Configuration > Pollers > Pollers menu and click on Add to configure a new Remote Server.
Select Add a Sipmon Remote Server and click on Next:

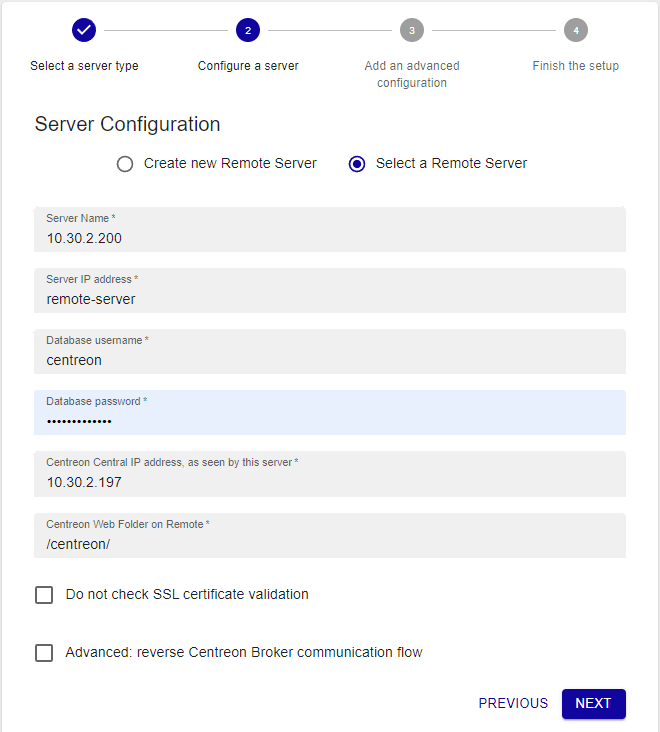
Select the option you want:
- If you enabled the Remote Server option when installing your server, select the option Select a Remote Server, then select your server and fill in the form:
Otherwise, select the Create new Remote Server option and fill in the form:
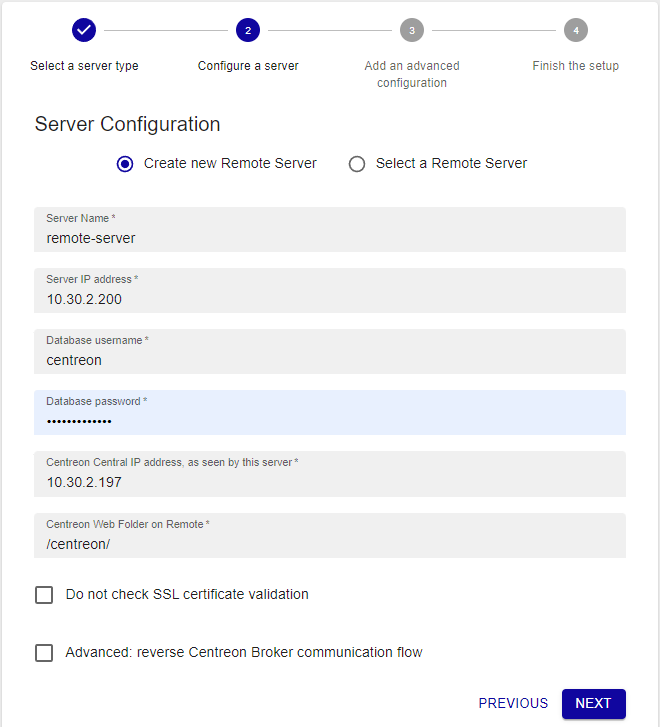
The Database username and Database password are the credentials defined during the installation of the Remote Server.
The Server IP address field is of the following form: [(http|https)😕/]@IP[:(port)]. If your Remote Server is only available on HTTPS, it is mandatory to define the HTTP method and the TCP port if it is not the default one.
The Do not check SSL certificate validation option allows to connect to the Remote Server using a self-signed SSL certificate.
The Do not use configured proxy to connect to this server allows to connect to the Remote Server without using the proxy configuration of the Sipmon Central server.
Click on Next.
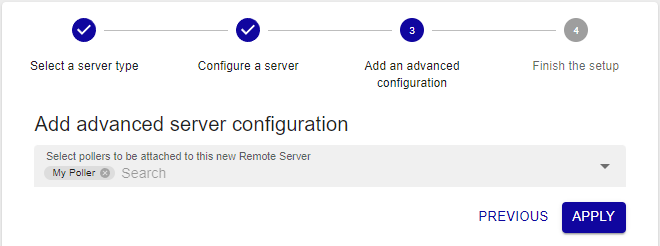
Select the poller(s) to be linked to this Remote Server, then click on Apply:
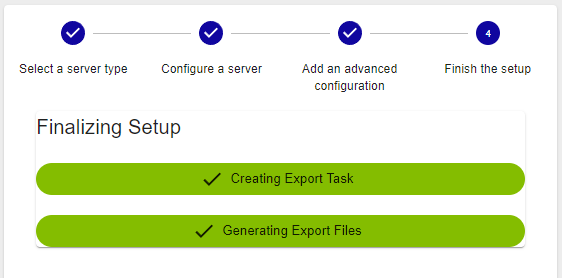
The wizard will configure your new server:
The Remote Server is now configured:
If you have customized the names of the databases at step 6 of the web installation wizard, carry out the following steps:
- Go to Configuration > Pollers > Broker configuration.
- Select the broker service for the remote server you want.
- On the Output tab, in section Output 1 - Unified SQL, update the name of the database in the DB name field (the default name is Sipmon_storage), then click Save.
- Export the configuration of the remote server.
- Restart cbd:
shellsystemctl restart cbdIf needed, check /var/log/Sipmon-broker/<remote-server-name>.log for issues/errors. (In the example above, the file would be /var/log/Sipmon-broker/remote-server.log.)
Step 2: Enable communication
The communication between the Central server and a Remote Server is ensured by Gorgone and can be done using ZMQ (with a Gorgone running on the Remote Server, recommended) or using SSH protocol.
Step 3: Export the configuration
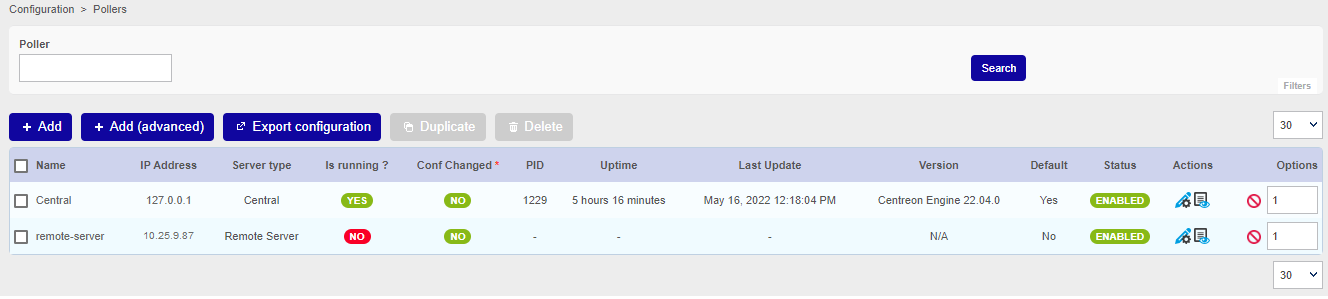
From the Pollers listing, select the Remote Server and click on Export configuration.
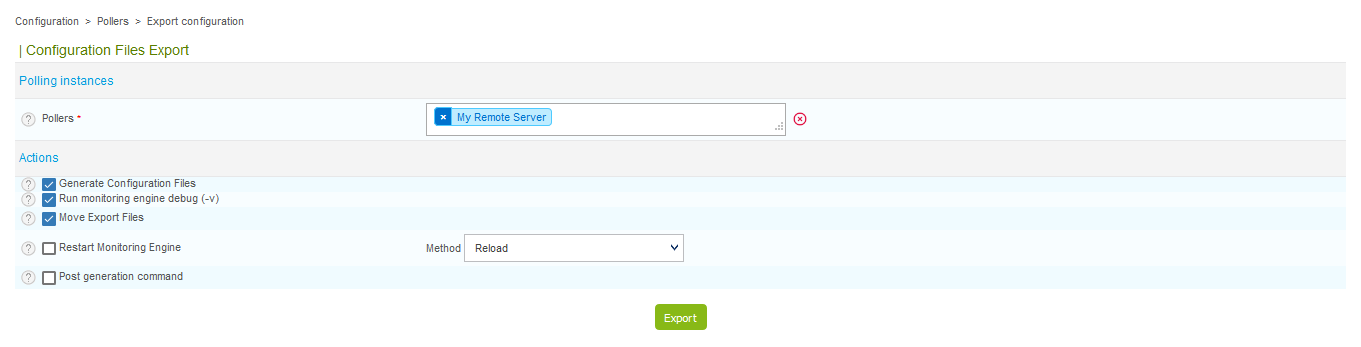
Then check the three first boxes and click on Export:
Finally, from the Remote Server, start/restart the collect processes:
shellsystemctl restart cbd centengineThe Remote Server's Broker and Engine will then start and connect to the Central Broker.

Getting started
Go to the Getting Started chapter to configure your first monitoring.